Click on an image to open the corresponding blog. The blog will have a free pattern (if available), video tutorial link (if available), and the written tutorial.
 This tutorial explains how to use the zigzag burn stroke to create short fur. This is my primary burn method I used when creating short fur. Not everyone likes this burn stroke. If that is the case for you, then burn single lines instead. Zigzag short fur tutorial

The Bengal Tiger is a beautiful cat to burn. This artwork was created in 2021 and is my second Bengal tiger I’ve done.
This tutorial will explain how I created this artwork. Bengal Tiger
 This tiger was one of the first big cat artworks I did. The artwork was done back in 2016. Bengal Tiger Pattern
There is not a corresponding blog or video.
When I originally created this artwork, I was very proud of it. Now I can’t help notice how much better my 2021 version is. Improved artwork is the benefit of experience. That said, I included the pattern because you might enjoy trying to create your own version of it.
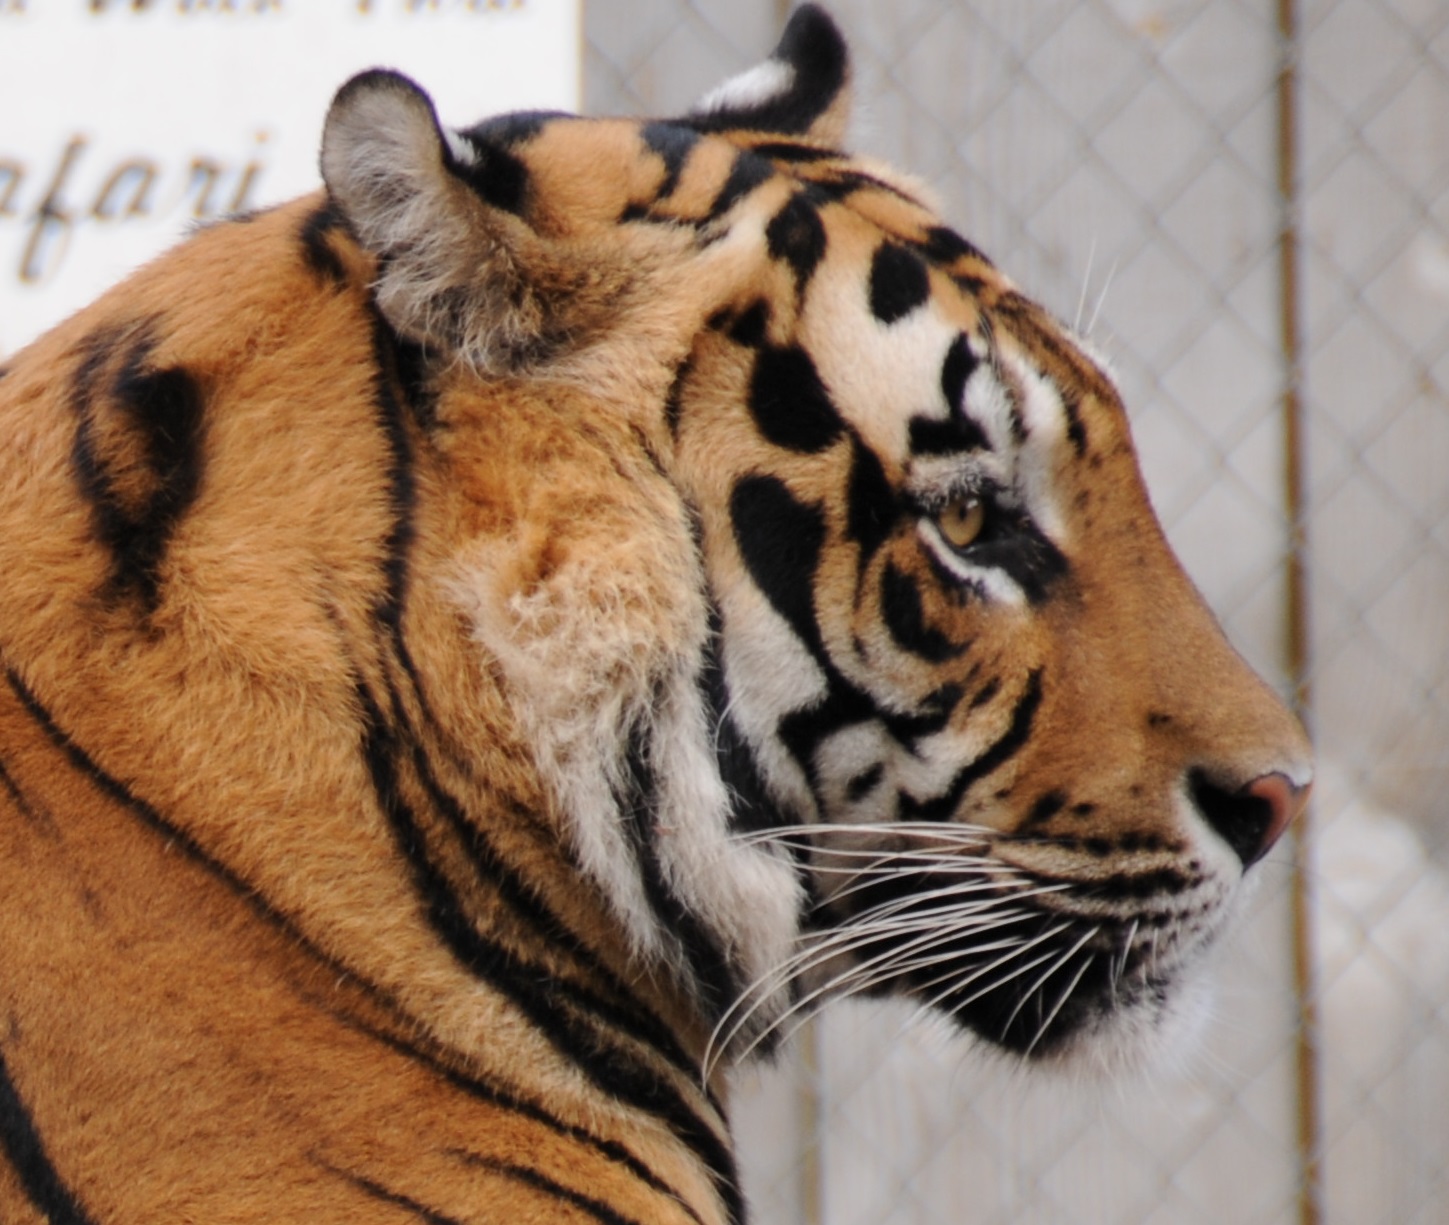 Here’s the reference photo for the tiger.

This bobcat was one of my first big cats I created. I liked the image because of how the light strikes the cat. Bobcat tutorial
 Ear – this video is a compilation all of the video clips showing how to create the the ear. While the demo shows a cat’s ear, the information can be applied to any ear with wispy hair.
To watch the tutorial on just the ear on the thumbnail image or click on this link: https://youtu.be/6AE2-nHayjU
 Wispy hairs tutorial that explains how to create wispy hairs that stick out against a dark background. To watch click on the video thumbnail or this link: https://youtu.be/ZP_MlK2GPsY
 This blog explains how to create the cheetah artwork. The normal color of cheetah fur is perfect for pyrography. Cheetah

The jaguar artwork is a 3-part series. The first part creates a basic jaguar image.
Part 1 is beginner friendly. There isn’t shading involved. Instead you burn the spots to a dark color, and then burn in the ‘orange’ colored fur.

Jaguar part 2. This tutorial shows how to contour the jaguar from part 1 so that it looks more 3d.
This means that we are adding shadows on the body to give it more realism. Plus the log the jaguar is perched on has more definition. You do not have to complete part 2 to do part 3.

Jaguar part 3. Part 3 explains how to create the background.
The background is broken down into 3 steps that get progressively harder.
It is completely up to you how much of the background you want to incorporate. I will mention that step 1 is very beginner friendly.
 There is not a blog or video tutorial for this artwork. At some point I will create a tutorial. The pattern and reference photo for the lion is available on my Etsy page.
Etsy pattern: https://www.etsy.com/listing/793715145/lion-side-view-pyrography-pattern-wood
 There is not a blog for the Lioness. I do have a video tutorial available for this artwork.
The pattern and reference photo for the lioness is available on my Etsy page.
https://www.etsy.com/listing/681090107/lioness-pyrography-pattern-wood-burning
YT link: https://youtu.be/AXqwvJE8O2s
 Pet Themed Gifts. There is not a corresponding blog. This tutorial shows you how to create pet themed gifts. The pyrography is very beginner friendly since there isn’t shading involved. Instead, all of the pyrography is nothing more than filling in areas with dark color. Plus, most of the designs are created using stencils or something similar.
Click on the video thumbnail or this link to watch: https://youtu.be/l3KQM923sag
 This tutorial explains five different ways of creating whiskers. Whiskers
 This video goes into great detail on the zigzag burn stroke to create fur texture. There is not a corresponding blog.
Click on the video thumbnail or this link to watch: https://youtu.be/yaYSqp1Ebyo