Click on an image to open the corresponding blog. The blog will have a free pattern (if available), video tutorial link (if available), and the written tutorial.
Blogs are listed alphabetically by subject

This daisy was done on watercolor paper for a homemade greeting card. African Daisy.

This is a fun and very colorful project. The pyrography is very basic comprising nothing more than dark lines.
Mostly this project is about using colored pencils to color in the butterfly. Butterfly Book
 Butterfly Dreams is a fun project that looks good with or without color. The pyrography is fairly basic. The same burn stroke gets used for almost all of the artwork. Butterfly Dreams
 The covered bridge project accomplishes two things. First it demonstrates how contrast improves the visual interest of your artwork. Second it shows you how to create the different textures found in the artwork. Covered Bridge

Dew Drops, water droplets, rain drops, or whatever you want to call them, are very easy to create. They add an interesting element to your artwork. This tutorial explains how to create them even in areas that are already burned in. Dew Drops

The Easter chick artwork was created using just a writer nib. The main purpose of the artwork is to help you get comfortable using a writer nib, and showcase how versatile it can be. Easter Chick Tutorial
 Evergreen trees. This video tutorial shows how to create 3 different styles of evergreen trees.
There is not a corresponding blog. Instead this is just a visual tutorial. No pattern needed and very beginner friendly. To watch, click on the thumbnail or this link: https://youtu.be/d4n69Xq7AB0

Feather. This tutorial explains how to create a feather. The blog explains the feather shown and provides a free pattern. Also found in the blog is a video tutorial I did a number of years later. The feather in the video tutorial does not require a pattern. Feather
 Ferns and rocks is the theme of this video. The simple sword ferns and basic rocks are a good background for things like insects, lizards, and small animals. No pattern needed. To watch, click on the thumbnail or this link: https://youtu.be/ZNshIA0dc9A
 This floral serving tray is a super easy project to do. The pyrography is very basic, and you can color it to match your decor. The image looks add because I photoshopped the sides of the tray along the edges of the image. This shows how the design wraps around the tray. Floral Tray
 The gazania flower looks good with or without color. I put this artwork on a wooden wall plaque that was also a key ring holder. This created a lovely looking piece of functional artwork.
I do want to mention that my husband hates the little flower bud below the main flower. He thinks it looks like some sort of alien eyeball. If you don’t care for it, then leave it out. That’s the great thing about creating your own artwork, you can customize it to your preferences. Gazania Flower
 The grapes artwork is a beginner friendly project that explains how to create spheres, or balls, with different light scenarios.
The tutorial then builds on that information to create the grape cluster artwork. After the pyrography is done, the artwork is accented with colored pencil. Grapes & Spheres
 The Halloween sign is a very beginner friendly project. Coloring crayons are used for the color. In fact, kids would have fun coloring it. Halloween Sign
 The holiday pumpkin project is super easy to do. Plus, the project is rather unique because it was burned on actual pumpkins. Holiday Pumpkins

This jaguar is a 3 part series. Part one (pictured) shows you how to create a basic jaguar that is very beginner friendly. Jaguar tutorial
Part 2 takes the jaguar from part 1 and adds some shading to give it a more 3d appearance.

Part 3 adds a background you see in this image.
 Leaping Trout is a design that I burned onto a number of cribbage boards.
The artwork might seem a bit complex, but it is much easier to do than it first appears. Leaping Trout
MANDALA DESIGNS
I’m included a number of mandala designs in the beginner section for several reasons.
1) They allow you to experiment with textures while creating artwork. Regardless of what sort of texture you create, they tend to look fantastic.
2) They allow you to experiment with different nibs.
3) The designs are often small, so you don’t have to shade large areas.
 The abstract dragonfly is an old project. One that I barely remember doing. The design isn’t very large, and there are areas where shading is involved. Shading is easier to do in small sections, so this blog allows you to practice while creating art. The downside to this project is that there are not any videos available for it.

Mandala I. This was my first mandala design. The sections are very basic, so even if you are brand new to pyrography you can do this one. Mandala I
 Mandala II. This design is a little more complex than the first one. To me, this complexity gives it more visual interest. Mandala II
 Mandala III. My third mandala design has a complexity level on par with the second one.
What make this one unique is that I repeated parts of the design on other areas on the board. Quite truthfully, this sort of customization is something you can do with any mandala design.

The mandala dragonfly is a little involved because of the mandala design.
The nice thing is that the design is the same for the corners and the dragonfly. Once you burn in one element of a design, you can then burn in the same element on the remaining designs.
I do want to mention that since the design are small, any mistakes are not likely to be noticed. Also, while I explain how I burned in the design, you can always burn it a different way. After all, it’s your artwork, so customize it to your preferences.
Lastly, it’s a fun projects to do. I should mention that the design is not 100% pyrography. The grey background was created using colored pencils and grey ink.
 The Mandala Christmas Tree is another fun project. Another benefit of this particular design is that some of the elements, like the tree on the right, can be used in other applications. Mandala Christmas Tree

The maple leaves look great with or without color. There isn’t a pattern for this artwork. Instead I used printouts of leaves on the internet. Maple Leaves

The maple tree blog explains how to create distant maple trees. No pattern needed, but I do provide a very basic maple tree shape.
These trees are good for background filler. I do explain how to add more trees and provide guidelines for adding more trees. Maple Trees
 Moon Coasters. This is a simple project for leather drink coasters that feature a wolf howling at the moon. There are four different designs, but the designs are similar. You can easily mix and match different aspects of the coasters to customize them to your preferences. Moon drink coasters

The moonlit tree is a fun project that relies on an embossing tool to create the tree and distant stars. The embossing tool techniques can be used on numerous applications. Moonlit Tree
 This tutorial explains how to create a basic mountain lake. I do want to mention that the corresponding video tutorial was the first one I ever did. Be gentle with your judging. Mountain Lake
 This is one of two versions of the Nativity scene. Both use very basic pyrography, but this version uses colored pencil. It was my attempt to create pyrography art that looked like stained glass. Nativity colored pencil
 The is the second version of the Nativity scene. The only difference is that this one uses watercolors. I’m not very good with either watercolors or paint brushes. If you like to paint, you will probably enjoy the project. Nativity watercolor
 Pet themed gifts. This tutorial shows you how to create pet themed gifts. There is not a corresponding blog. All of the pyrography is very basic since it consists of burning shapes to a dark color.
Click on the thumbnail, or click on this link to watch: https://youtu.be/l3KQM923sag
 Stylized Rose. I call it a stylized rose because it’s not based on an actual photo. Maybe a better term would be simplified rose. Stylized Rose
 This blog gives you my top 5 tips for beginners. Top 5 Tips
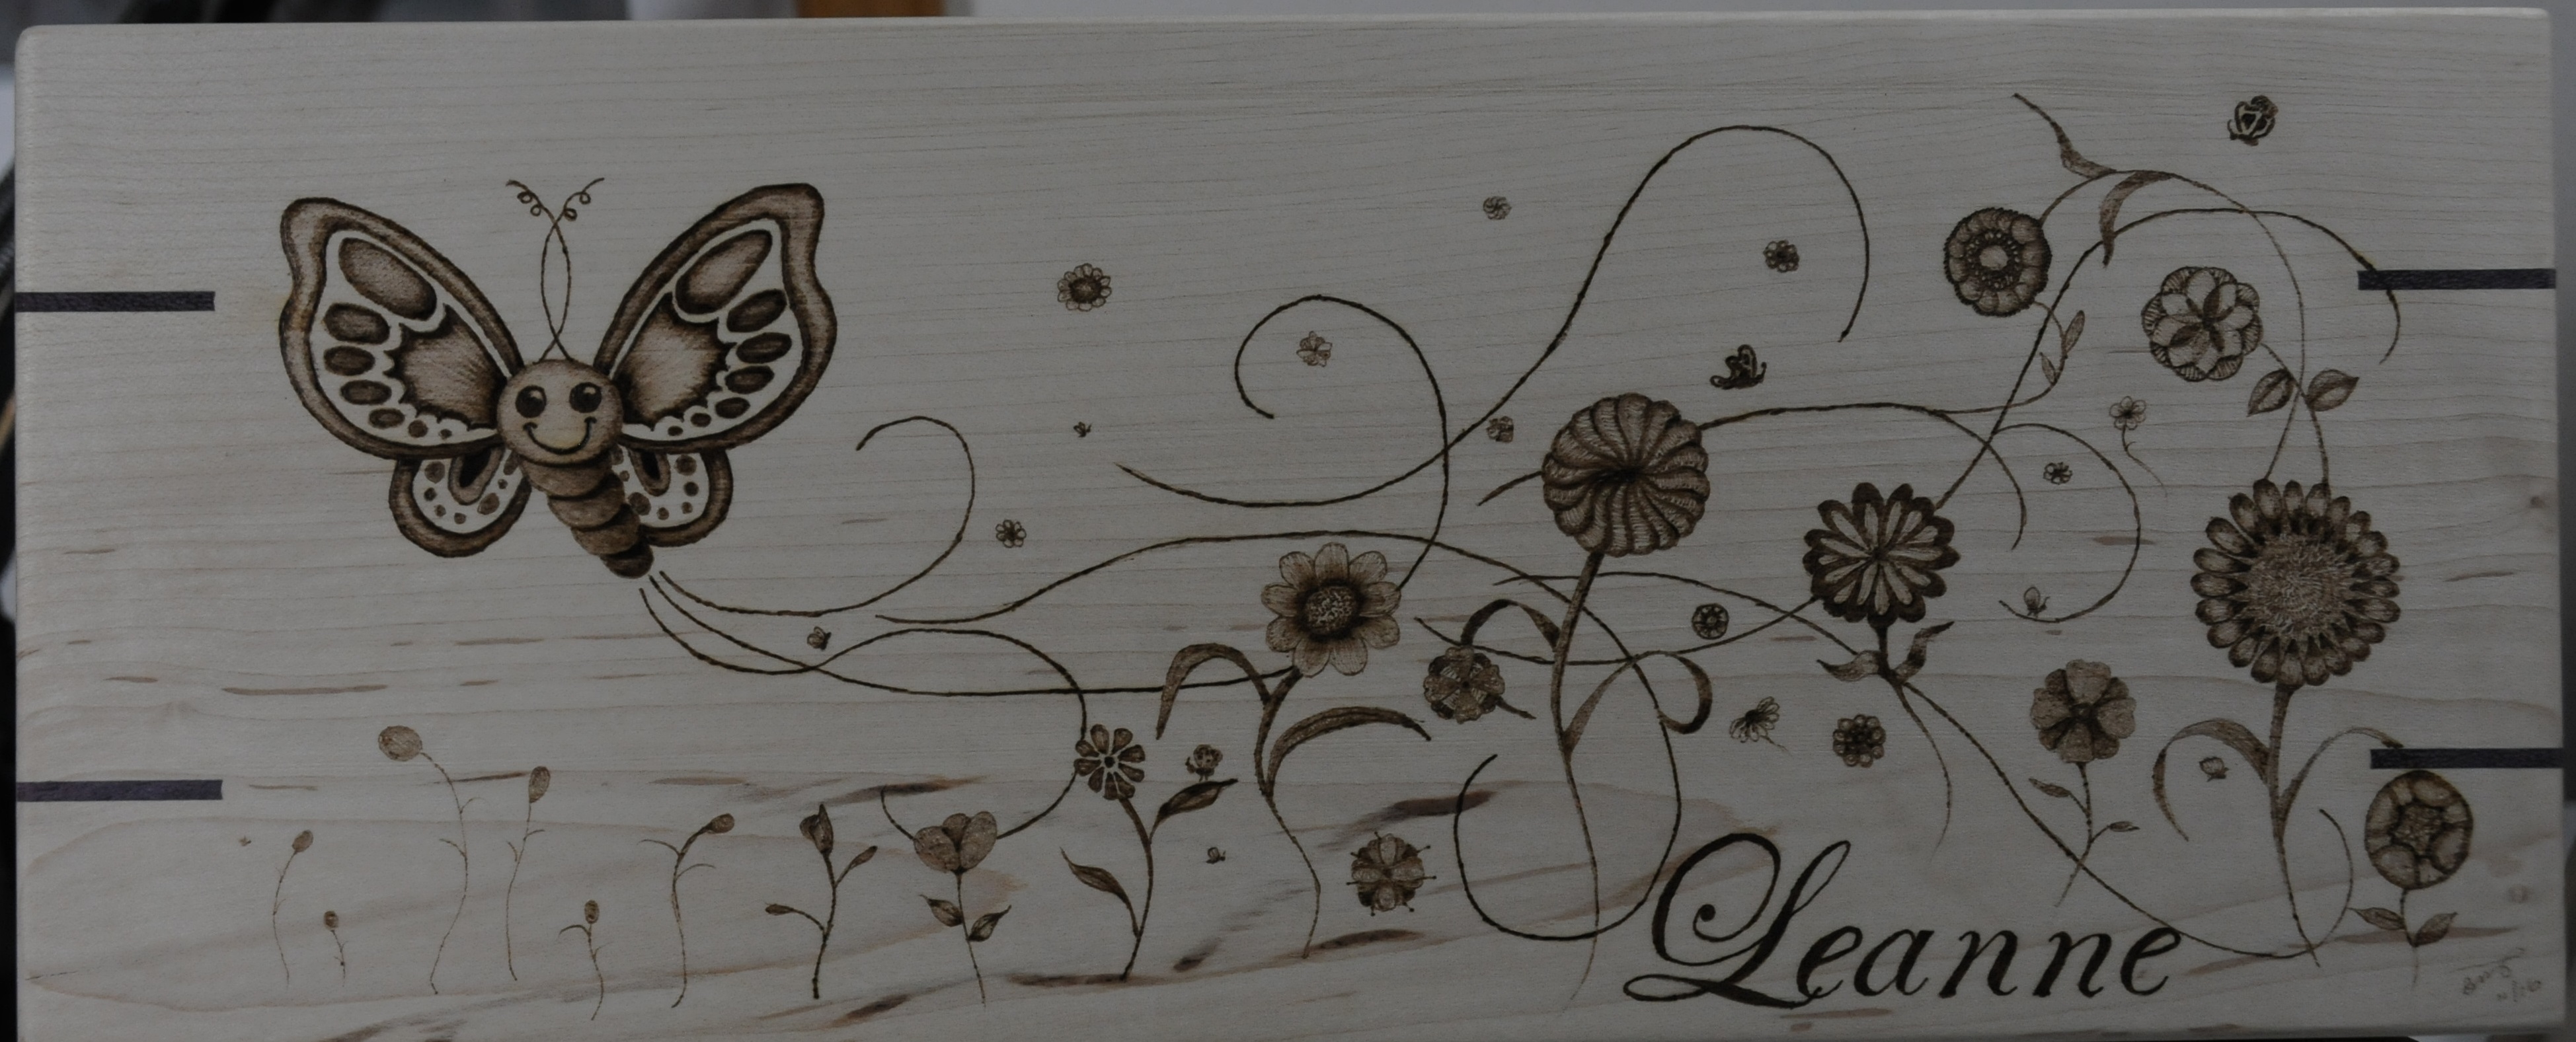 This is a pattern for the whimsical butterfly artwork I did many years ago. There will not be a blog or video for this artwork. Whimsical Butterfly pattern

 The Winson spray gun is rather fun to use. It is basically a battery operated mini airbrush that uses alcohol markers for color.
I created a number of beginner friendly projects that merge simple pyrography and spray gun color. An example are the wood coasters (shown) that I did. All of the pyrography is very basic beginner friendly, and the added color is easy to do. Winson spray gun