 In this blog I’m going to show you how to create some super easy Christmas ornaments and gifts. Everything is very beginner friendly and you can use any sort of burner to do the artwork. My goal with this blog is to provide you some ideas of what is possible. You can take the information and customize to your personal preferences.
 For some reason I get a lot of offers for products that companies want me to do a review of. 99% of them are completely unrelated to pyrography. I like to think I have a pretty good imagination, but even I can’t figure out a way to claim that headlamps, bathroom organizers, kids’ toys, etc., relate to pyrography.
When I got contacted by Winsons to review their spray marker, I instantly knew that this was something that could be used in pyrography.
I know that some of you will hate the fact that I used color on the projects. Some of you will hate the color choices I made. That’s okay. Just keep in mind that you don’t have to add color. Also, you can use colors you prefer that match your decor. All I am trying to do is supply ideas.
Be aware that I will be providing some product links in this blog. Other than the link for the Winsons spray marker, all of the links are Amazon affiliate links. This means that if you buy something using one of the links, then I receive a small percentage of the fee Amazon charges the seller. There isn’t a price difference for you.
As for the Winsons spray marker kit, I received the kit for free. I do not receive anything if you should choose to buy one. As I said before, keep in mind you do not have to add color to the projects.
Let’s get started.
 I do have a video tutorial. The video will go into much greater depth than this blog will. Also, the video will cover projects not found in this blog.
To watch either click on the thumbnail to the left, or click on this link: https://youtu.be/zOmds8XrW60
Something a little different in this video, is the fact that I included a number of oops I made. I think you may learn some interesting things from some of my mistakes.
 The spray marker kit I was sent contains is their basic set that comes the spray gun, 5 alcohol markers, charging cord, and 5 stencils.
 As you can see from this image, the spray gun is pretty substantial.
The base is large enough that it can rest on the table.
Operation is simple: Load a marker, press the power button, and start spraying.
You will not be able to create really fine lines like you can with a professional airbrush, but you can create smooth uniform color.
How close you hold the gun to the board controls how dark the resulting color is. This is similar to an airbrush. There is a distance limit of approximately 10-12 inches (25.4 – 30.5 cm) with the marker. If you try to spray further away than that, the color becomes almost impossible to see.
Cleaning the spray marker is a breeze. All you do is rub over the air nozzle with a Q-tip soaked in alcohol. So easy and fast to do. Something I can’t say about cleaning an airbrush!
Here’s a 10% discount code for the spray kit that includes the spray gun, 5 markers, and 5 stencils: WT1762917308264
Here’s a link to their website: https://winsonsglobal.com
Here’s a link to the product on their website with the discount code: https://984fe5-2.myshopify.com/discount/WT1762917308264?redirect=/products/winsons-electric-airbrush-marker
 Here are a few of the simple ornaments I created. Each one took less than 15 minutes to do.
 I bought some unfinished 3-inch (7.6 cm) wooden ornaments on Amazon. This set contains 120. Yes, I know that’s a lot, but I wanted plenty to play around and experiment with.
Plus, I think my nieces & nephews would have a great time making ornaments.
120 wooden ornaments link: https://amzn.to/4r5BXjZ
 All of the ornaments except one were created using one of the stencils from this Christmas themed collection.
The stencils have 60 different designs and are 3-inches (7.6 cm) in size. Yes, this is another Amazon item. There are many different sets of stencils available, so look around and find one you like.
Here’s a link to the set I bought: https://amzn.to/4oL1sWf
 Each ornament starts the same way; I secure a stencil to the ornament and trace in the design with a pencil (upper left).
Then I burn in the design using a writer nib (upper right).
Lastly, I added some color (bottom). With the snowman, I just sprayed a blue color around the edges. That allowed the snowman to stand out.
 With the ornament design, I traced and burned in the stencil design just like I did with the snowman.
Then I covered the ornamental designs with scotch tape. Afterwards, I used a Xacto knife and cut away the excess tape so only the ornaments were covered (upper left).
 I will mention that I really helps to draw a pencil line around the outer edges of the ornamental designs. This provides a guideline to follow when cutting the tape.
Then I sprayed several layers of red until it was as dark as I wanted the red to be (upper right).
Afterwards, I carefully removed the scotch tape from the ornamental designs (lower left).
Lastly, I used the fine tip part of the marker to color over any gaps (lower right). The gaps are where I didn’t cut the tape close enough to the design, so little bits of the background were covered with tape.
 The sunset trees don’t look very Christmasy, but not all gifts have to have a Christmas theme. What sets this ornament apart, is the color.
After the design was burned in, I placed a piece of paper over the ornament with a hole cut into it. The hole is slightly bigger than the stencil I used. Then I used the yellow mark to spray a sun into existence (top).
I removed the paper masking and stencil, and sprayed yellow around the sun and in a horizontal band (lower left).
Then I switched to the red marker and sprayed a band of color above and below the yellow color. I didn’t include that with the composite photo.
Lastly, I sprayed blue along the top and bottom of the ornament (lower right).
Here’s a link to the stencil with the geometric shapes I used: https://amzn.to/43CSsdi
 This image shows a composite image of an ornament before and after I added color. If I were to do this over, I would lightly burn over the snow on the trees. That would help emphasize the truck a bit more.
 When I was doing the closed caption (cc) work on my video, I discovered that I forgot to show the final results of most of the ornaments. I’m not going to explain how to create these ornaments, but at least here you can see a larger version of them.
 I also created matching coasters. The coasters are easy, practical, and make a great gift.
Your gift can include a matching ornament.
 The coasters were created almost exactly the same as the ornaments. The only difference was that I took pictures of the stencils, and printed enlarged versions of them that fit the wooden coasters I used.
The only exception to this is the palm tree coaster on the upper left. For this I drew in a basic palm tree shape, burned it in, and then sprayed using a technique almost identical to the trees (lower right). The big difference is that I sprayed green along the bottom where the land mass is. I wanted the land mass area to be dark, so I sprayed red over the green. I followed that with blue and more green. I think I got carried away and made the color a touch too dark.
I applied a piece of self-adhesive cork to the back of the coasters so they wouldn’t scuff tables. You can buy sheets of cork, cut it down to size, and then glue it to the back of the coasters. I find the self-adhesive style much easier to use.
I should mention that I already had the coasters & cork on hand from other projects I had done. The coasters I used were 5-inch square, but the self-adhesive cork was only 4-inch square.
I will admit that 5 inches is a bit big for a coaster, but I didn’t want to order a set of 4-inch coasters. Also, I couldn’t find 5” square cork pieces, so I used the 4-inch ones on the 5-inch coasters.
Here are links to the products –
4” wooden coasters: https://amzn.to/48vajpd
5” wooden coasters: https://amzn.to/3JKmIfD
4” self-adhesive cork: https://amzn.to/4pmm7zW
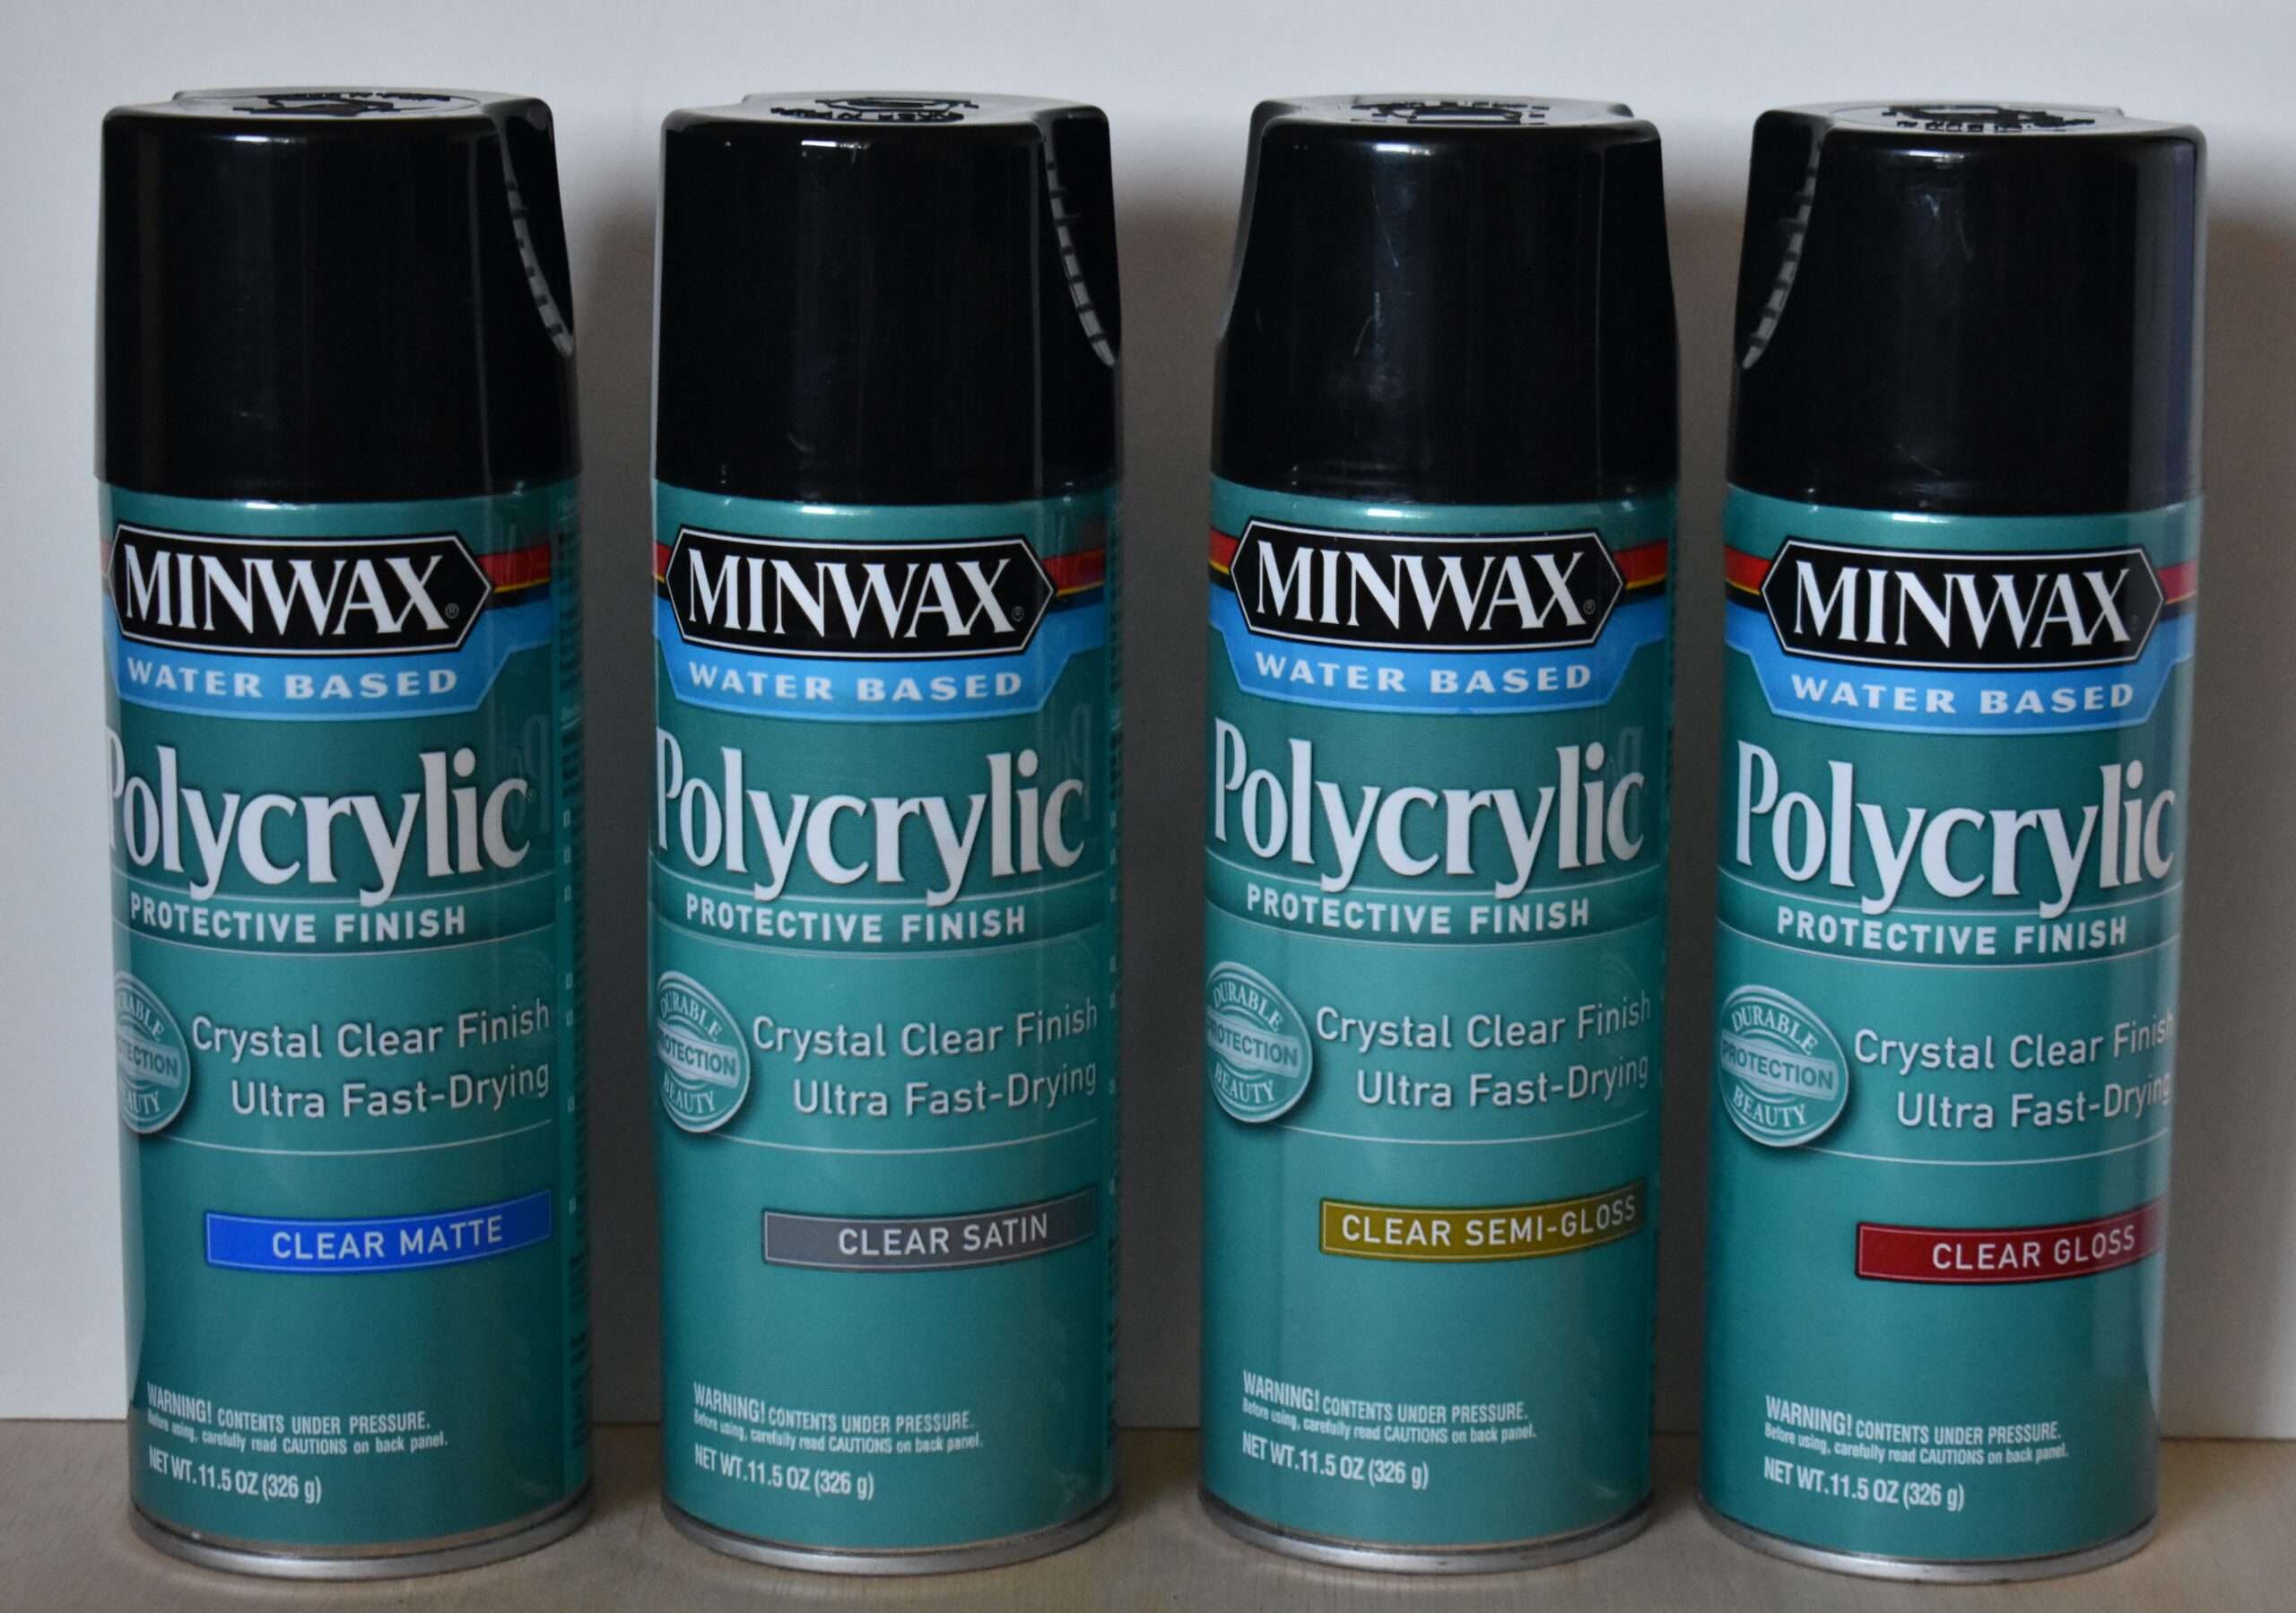 It is important to seal the coasters!
I used Minwax polycrylic semi-gloss finished, but you can use any sheen level you prefer.
I followed the instructions on the back of the can: spray a very light layer, let dry 30 minutes, lightly sand with 220 grit sandpaper, repeat.
Each coaster received 5 coats of finish. You can apply more if you desire.
 This photo shows a piece of wall art I created. Silhouette art is easy to do, and makes a great gift.
The top portion of the image is the scene before I added color. I drew in tropical scene, but you can use stencils. Or, you can also do an internet search for silhouette images, and use something you like or the recipient would like.
For example, a dragon with a flaming background would look create. A Japanese garden would look awesome. There are so many options.
The lower portion of the image shows the tropical scene after I sprayed color. Again, it’s very similar to the trees ornament, and almost identical to the palm tree coaster. The only difference between the coaster and the wall art is that I didn’t spray the land masses with green.
 I also attempted to create a t-shirt.
I secured the shirt to a board; the board is place inside the shirt.
Then I attached one of the provided stencils and traced the design with a pencil (upper left). I removed the stencil and you can see that the pencil lines are easily visible (upper right).
I started burning over the pencil lines using a writer pen tip (lower left).
It was going well until I burned a hole in the shirt! (lower right)
At the time, I assumed the hole was because of how thin the shirt was. I later learned that the thinness was only part of the problem. I’ll tell you more later in this blog.
 I had a 100% cotton apron and burned an image onto it. Again, I used one of the provided stencils from the Winsons kit. I also use some of the small Christmas stencils to accent the deer.
I think this turned out pretty well.
I did add color to this image, and that was a hideous mess. Since I’m trying to keep my photos to a minimum on these blogs, you can watch the video to see the color.
Also, I did burn a hole in the apron. That too is shown in the video. It turns out that circular motion is not a good burn stroke to use on fabric; especially if you’re using a small nib. I was using a writer nib.
100% Cotton Apron: https://amzn.to/3JG3pEh
Here’s the following of what I learned from burning on fabric. Keep in mind that I have only burned on the t-shirt and the apron, so I don’t have a lot of experience.
- Use thick 100% cotton.
- Don’t use synthetic materials. Most, if not all, of the synthetic materials contain forms of plastic.
- Don’t use circular motion; especially if using a writer nib
- Use uniform strokes or stipple. Stipple is just a fancy work for burning dots.
- Don’t use a high heat. I tested out high heat on the t-shirt and it melted the fabric. I didn’t know this until I washed and dried the shirt.
- Don’t do a lot of reburning. The more you burn over an area, the more fragile it becomes. This makes it more prone to fraying and ripping.
 The last thing I will mention, is that you can use alcohol markers on ceramic mugs.
I used a stencil that matched a coaster & ornament. The mug is enormous, and fits quit a bit of stuff.
One nice thing is that if you don’t like how the sprayed or drawn image looks, you can remove it using isopropyl alcohol.
Oversized mug link: https://amzn.to/43zxtrL
Isopropyl alcohol (91%): https://amzn.to/45CWHUV
IN CONCLUSION
That is it for this blog. I hope you enjoyed the blog and that it contained some useful ideas for your DIY Christmas! I enjoyed playing around with the spray marker gun. It can produce flawless uniform color that can range from very translucent to opaque like an airbrush can. If you have kids, I think they would have a blast using this!
Brenda
Nov 25, 2025
Want to subscribe?
- Click on the “Leave a Comment” field at the end of any post (blog) and a subscribe option will appear.
- Put something in the comment field (if you put “test” or “just subscribing” I won’t make your comment public)
- Fill in the sections for your email address and name, and then click on the “notify me of new posts via email.”
- You will get a confirmation email from WordPress confirming you want to subscribe.
- Click on the confirm button in that email and you’re done.
Please note that I do not send out emails. If you have a WordPress account there is a way to subscribe within the WordPress system, but I cannot provide specifics on how it works as I don’t know.